
Tutorial: Make Hi-Res/Low-Poly VR Chat Avatars with MasterpieceVR
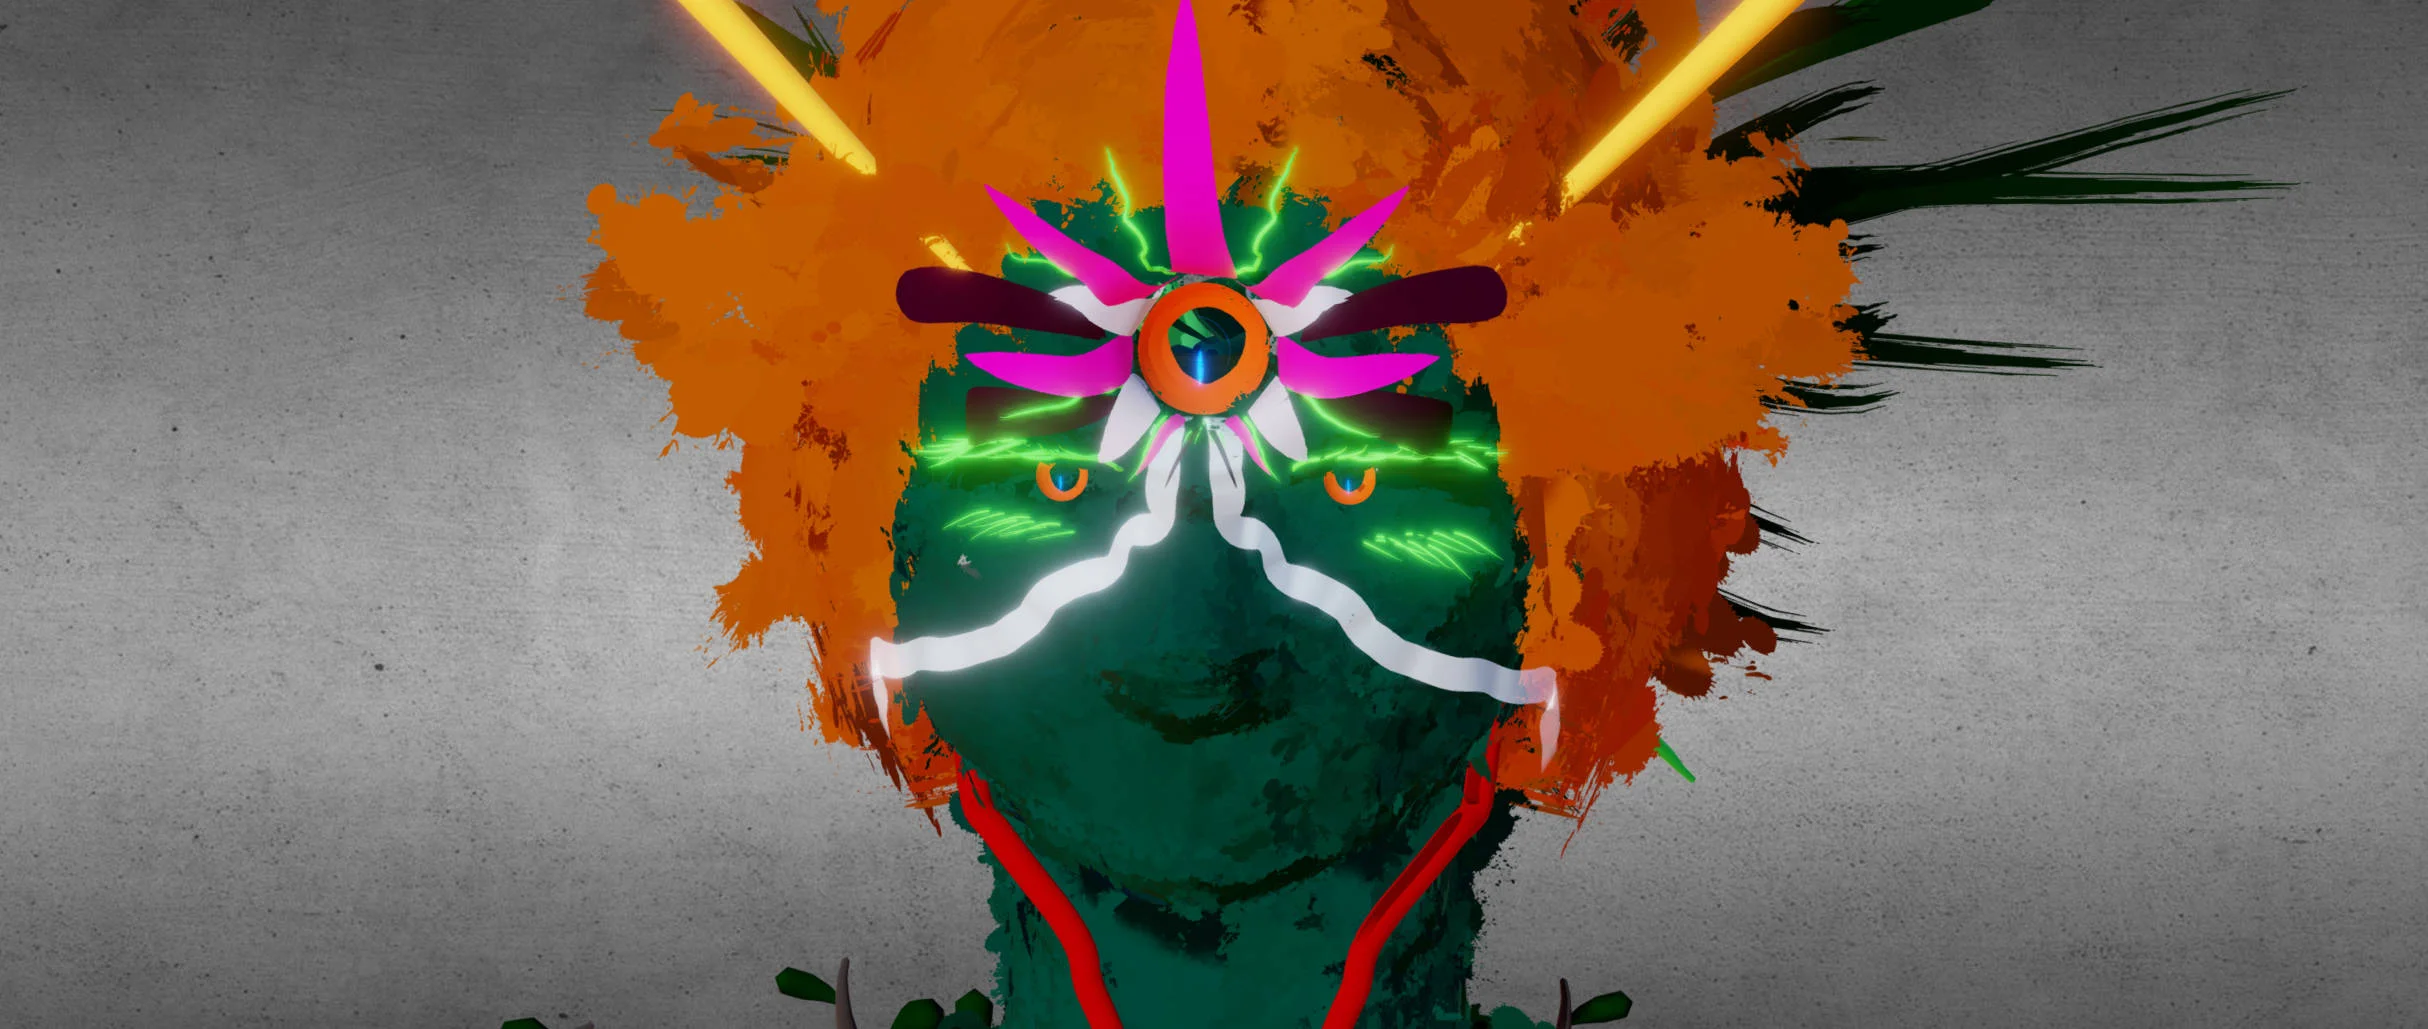
Here's a tutorial of how I made my photo-realistic low poly models with MasterpieceVR and Tiltbrush
Hey ya'll.
I wanted to share with you my VR workflow for creating some of my recent VR Chat Avatars which are low-poly but still incredibly detailed. Let me re-iterate, this is a Virtual Reality workflow which I found suites my particular style of art. I've been sculpting and painting since birth so if you'd prefer I just make a model for you...then that's a different conversation altogether (hit me up). But if you're like me and you have a VR rig, MasterpieceVR and love to paint and sculpt then listen closely (video coming down the line). There's many ways to get to Rome but this is the way I did it.
Software needed:
MasterpieceVR ($30)
MeshLab (Free)
Tiltbrush with Poly Account ($30)
3D Coat (Free Trial...Windows 3D paint might work too...don't know)
Unity 5.6.3 with VR Chat SDK (Free)
Internet Access
STEP 1: The first thing I did was sculpt the avatar and left the eyes out so I could add them in Tiltbrush. I painted my model but you don't have to since you'll be doing that in 3D coat.
STEP 2: Export your humanoid. I did it as an OBJ but as of writing this, I see that MasterpieceVR has a new export option which wasn't available.
STEP 3. Import your mesh into MeshLab and go to Filters/Remeshing, Simplification and Reconstruction/Simplification - Quadratic Edge Collapse Decimation. A pop up will appear asking you what your target number of faces are. VR Chat restricts you to under 20k so I did mine at 15k and it was just fine. I didn't push it to 20k because I'm going to add some brush strokes in Tiltbrush and want to leave some wiggle room.

A pop up will appear. Set target number of faces to under 20,000 for VR Chat.
STEP 4: Upload the model into Poly and then open Tiltbrush.
STEP 5: Load your model into the default scene. You'll notice on the floor that there is a square with 2 lines marking the dead center of the environment. Turn on Mirror Mode and line it up directly over this point. Now bring your T-pose model so he is centered with his feet on the floor. The mirror mode helps because it adds a y-axis which helps you with your placement.
Tilt brush has a number of great brushes but many of them add a ridiculous amount of polys. Seriously, the toon brush can add thousands really fast. I suggest using 'WIRE' or 'FIRE' as fire is really just a .png and wire is low poly. EXPORT from the Labs (see video) and then bring that .FBX file into 3D Coat (or similar painting program).
I love 3D Coat because I don't have to do anything special to prep the .FBX I outputted from Tiltbrush and it has a Photoshop style interface which is intuitive. I used the 'PER PIXEL PAINTING' option when painting this and you should too.
For the rest of the tutorial please refer to this video, cheers:)
Getting the model painted and into UNITY
More in depth video of using the SDK in UNITY.

Using Tiltbrush to create characters
Tiltbrush Character Concept Art
"ADAM" SPEED SCULPT VIDEO
SPEED SCULPT VIDEO
SEE IT IN VR: https://skfb.ly/6wXCp
This is my first take at making a Tiltbrush character. I called him Adam (Atom?) because he's so earthy.